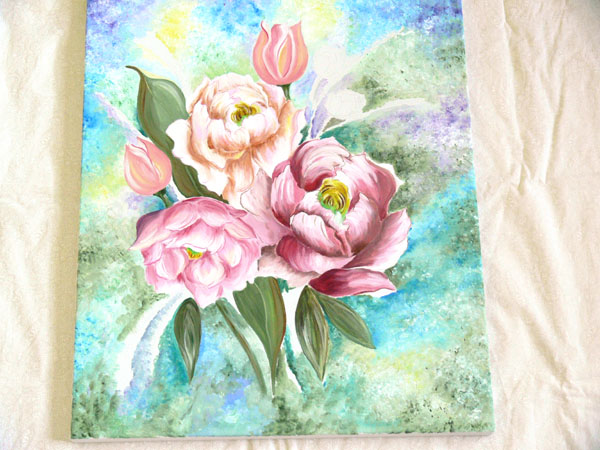
 My painting is finally finished. I usually do name the paintings I create so this one, for obvious reasons, will be called Peony Bouquet. Before I go into detail about the final steps involved in finishing the painting, I just wanted to mention how this particular painting came to be. My online friend Sharon from C'est Chouette and I are doing an art exchange. This is such a great thing to be able to participate in, I hope more artists will want to get involved with this kind of a barter in the future. Sharon's website is: http://www.cest-chouettehome.com/ and you can visit her blog at: http://www.cest-chouette.blogspot.com/ . Sharon creates the most gorgeous pillows using vintage needlepoint that she rescues. She has quite the eye for design and color, her work in truly stunning. We agreed on an artwork trade, several pillows for a custom painting. Sharon's choice of subject was the Peony, as they are quite special to her. What a great way an art trade is for each artist to get to own a special piece of work. This has been such a wonderful experience with her, I really encourage others to trade as well.
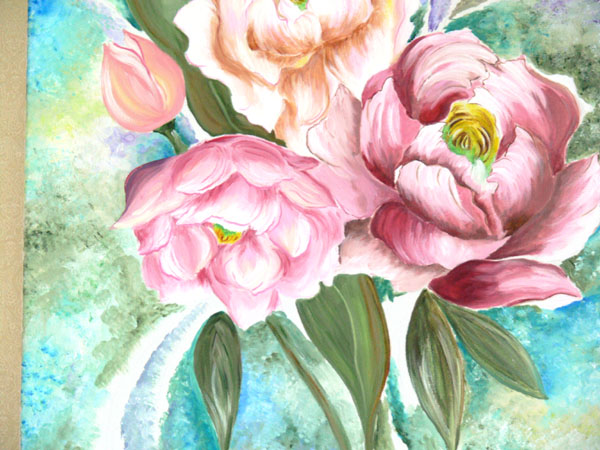
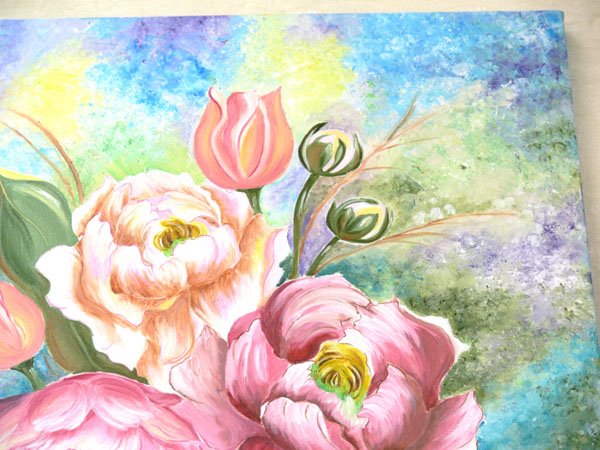
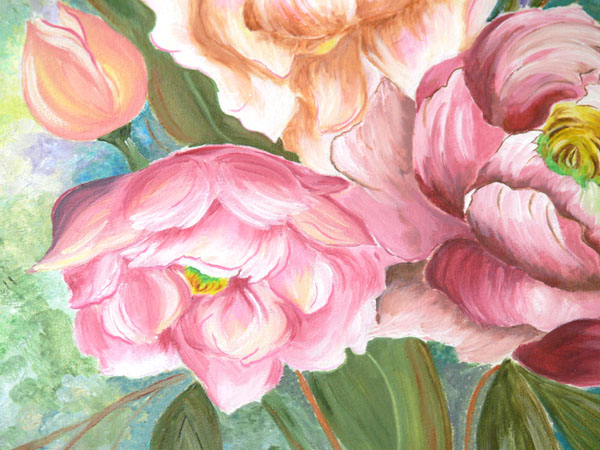
I repainted the areas on the petals of the toppled flower that I didn't like. I also painted in the buds. With the filler flowers, again, from the beginning I was sure I would include them. I had sketched them on the canvas, just the basic areas in which they would go. When I actually painted most of them in, I didn't like them at all. They made the bouquet look too crowded, I immediately painted them out. I opted instead for whispy branches. Then I decided to put the barest indication of flowers at the tips of the branches. Just a hint of white, that maybe something is there but you cannot tell what. It turned out just the way I wanted, the branches fill in the bouquet nicely without being overpowering.
A lot of times, when I start a a painting, I'll have certain ideas that I'm sure I'll be incorporating into the piece. Then I'll try the idea out and it just doesn't work at all and I have to totally rearrange my way of thinking and try something else. This happens to all artists as they work, having a good sketch and plan is very important but you have to be flexible and change with the painting. As you are creating, the painting really takes on a life of its own and it really does tell you what to do, what should come next. That is the happiest surprise about artwork.
All that remained at that point was to paint in the sides. I also sprayed the painting with a protective sealant.